Setup
Deploy Edictum Console, connect an agent, and deploy a contract that the agent picks up live in about five minutes.
Right page if: you are deploying Edictum Console for the first time and want a 7-step walkthrough from Docker Compose to first contract deploy. Wrong page if: you want production hardening (see https://docs.edictum.ai/docs/console/self-hosting) or Railway deployment (see https://docs.edictum.ai/docs/console/deploy-railway). Gotcha: admin bootstrap only works when zero users exist -- after the first admin is created, both the wizard and env-var paths return 409.
In seven steps you will deploy Edictum Console, connect an agent, and deploy a contract that the agent picks up live -- no restart, no redeployment. The whole flow takes about five minutes.
1. Prerequisites
You need:
- Docker and Docker Compose (v2)
- Python 3.12+ (for the agent side)
- Git
2. Clone and Configure
$ git clone https://github.com/edictum-ai/edictum-console.git
$ cd edictum-console
$ cp .env.example .env
Generate the required secrets and append them to .env:
$ python -c "import secrets; print(f'EDICTUM_SECRET_KEY={secrets.token_hex(32)}')" >> .env
$ python -c "import secrets; print(f'EDICTUM_SIGNING_KEY_SECRET={secrets.token_hex(32)}')" >> .env
$ python -c "import secrets; print(f'POSTGRES_PASSWORD={secrets.token_hex(16)}')" >> .env
Keep your secrets safe
EDICTUM_SECRET_KEY signs session tokens. EDICTUM_SIGNING_KEY_SECRET encrypts Ed25519 bundle-signing keys. If either leaks, rotate immediately. Never commit .env to version control.
3. Start the Console
$ docker compose up -dThree services start: Postgres 16, Redis 7, and the Edictum Console server. Wait for all health checks to pass:
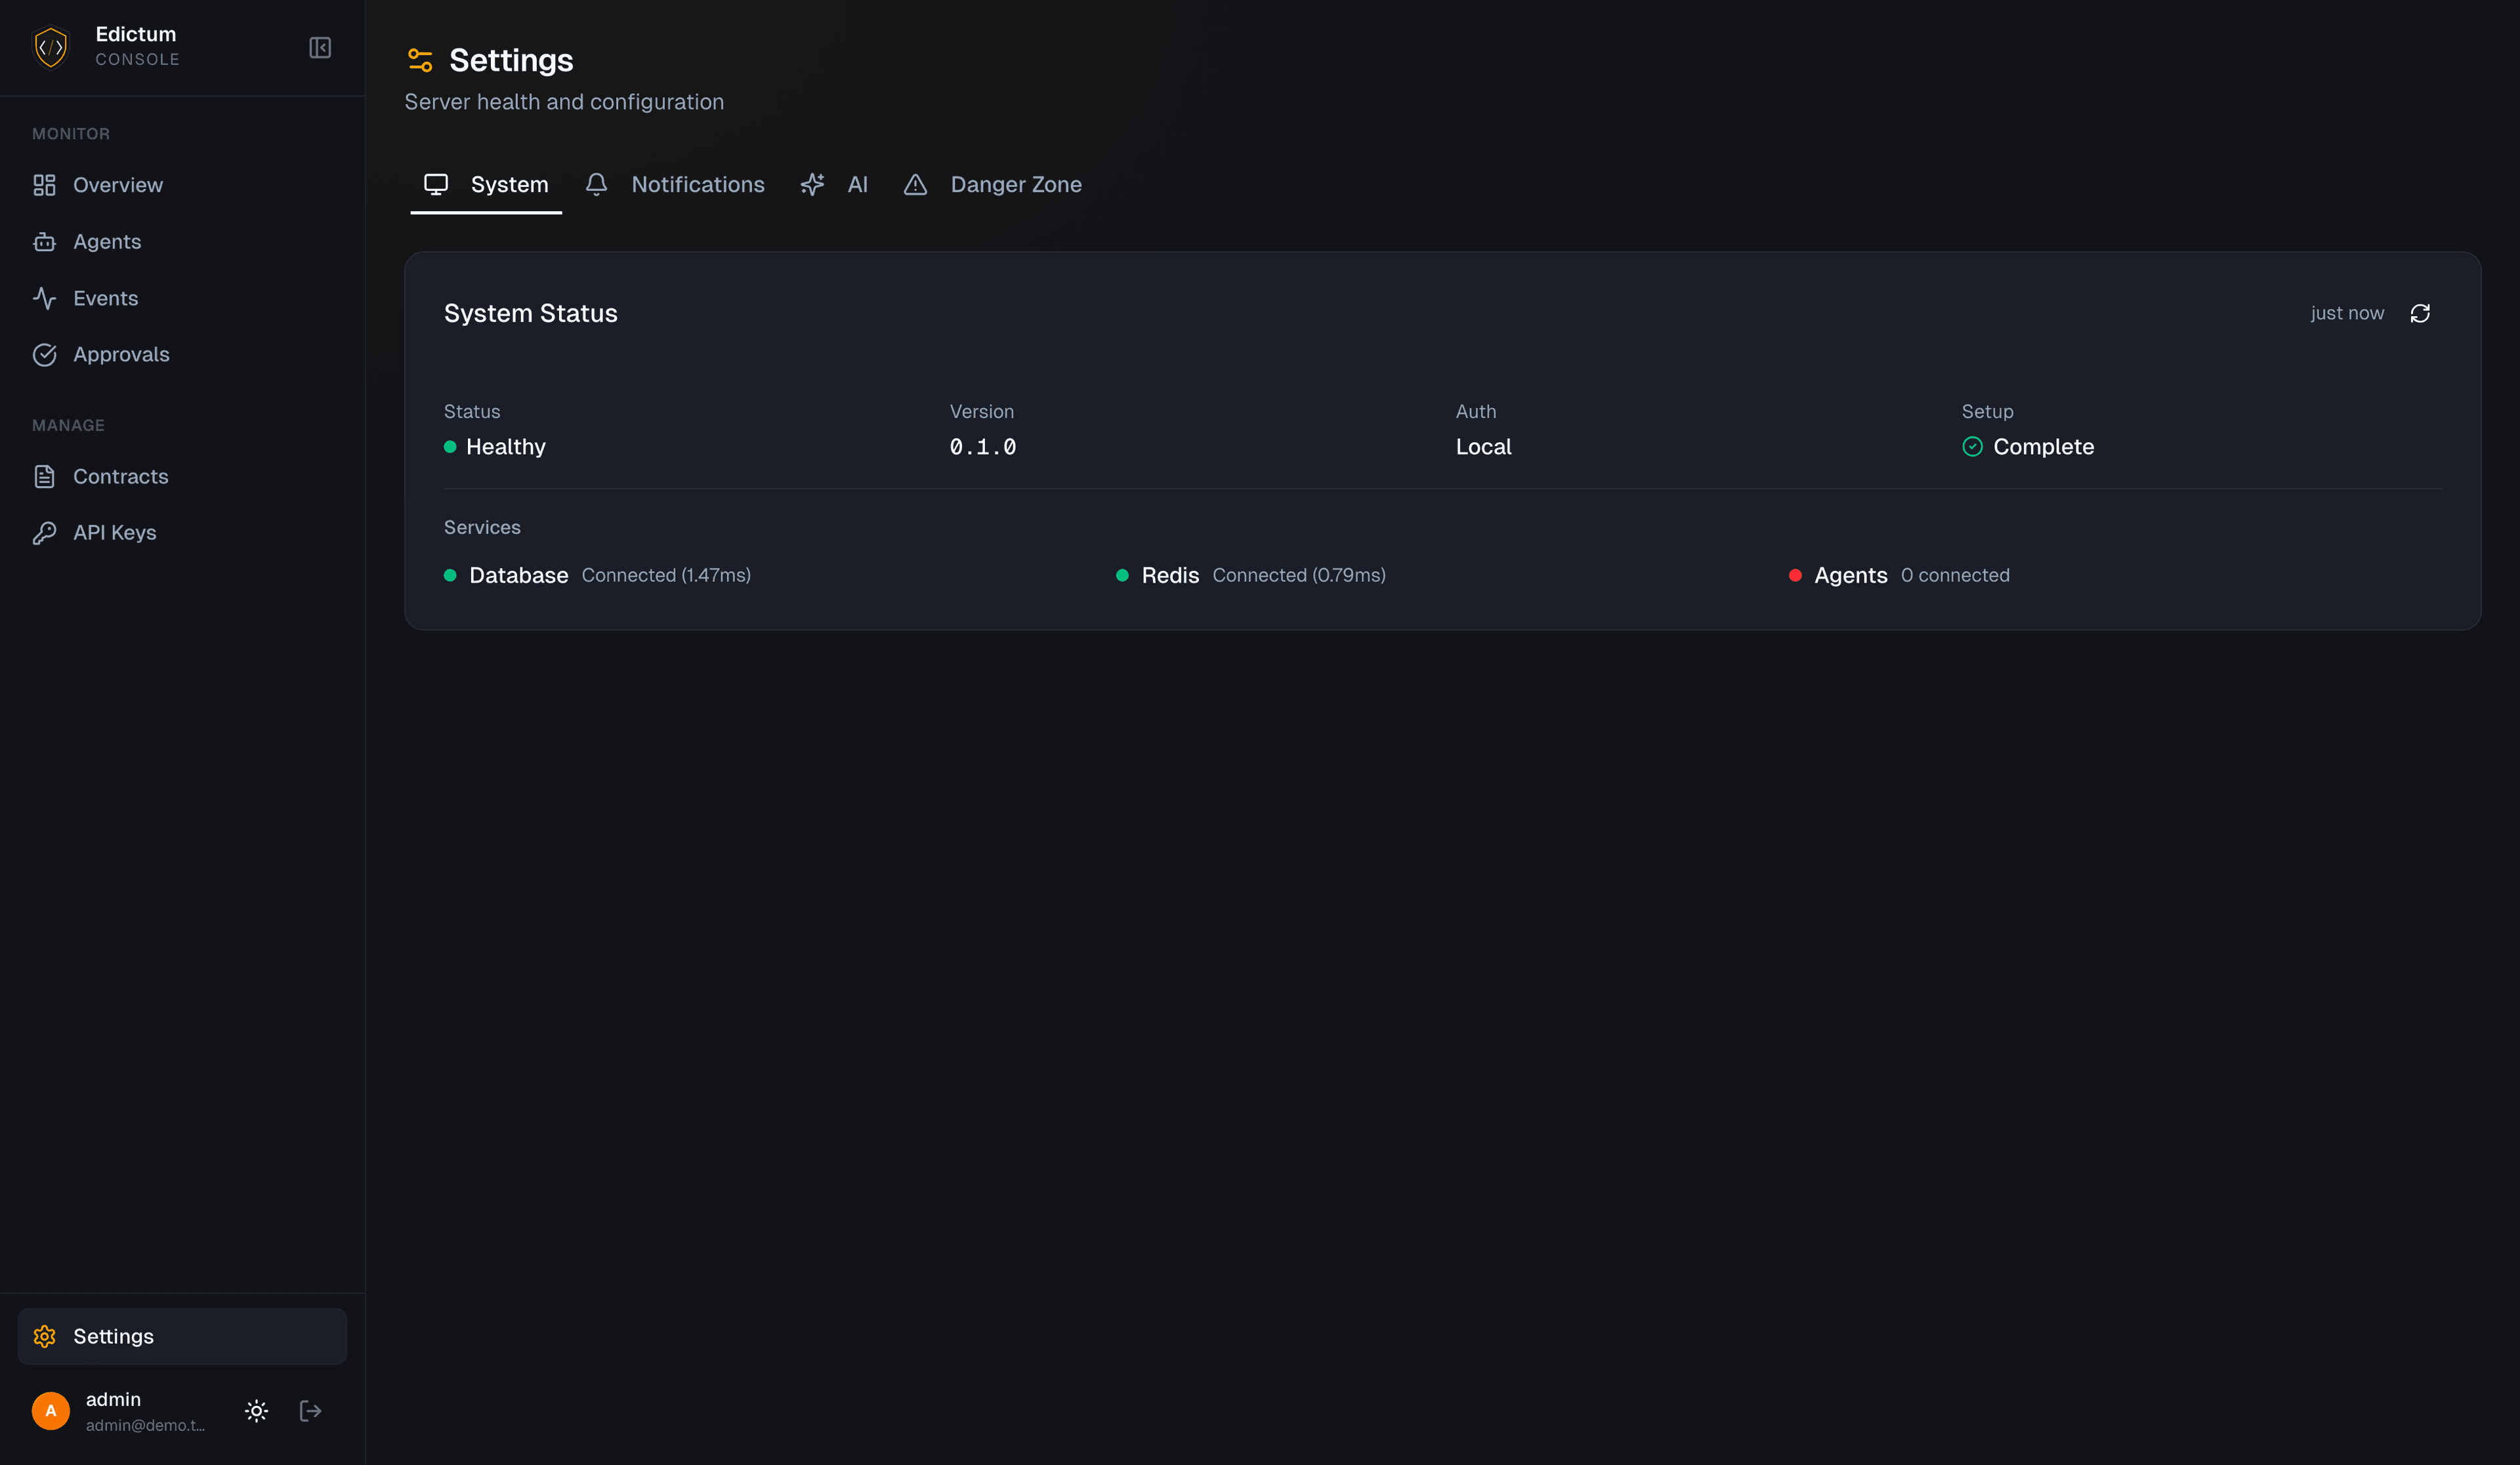
$ docker compose psThe console is now running at http://localhost:8000.
4. Bootstrap Your Admin Account
You have two options:
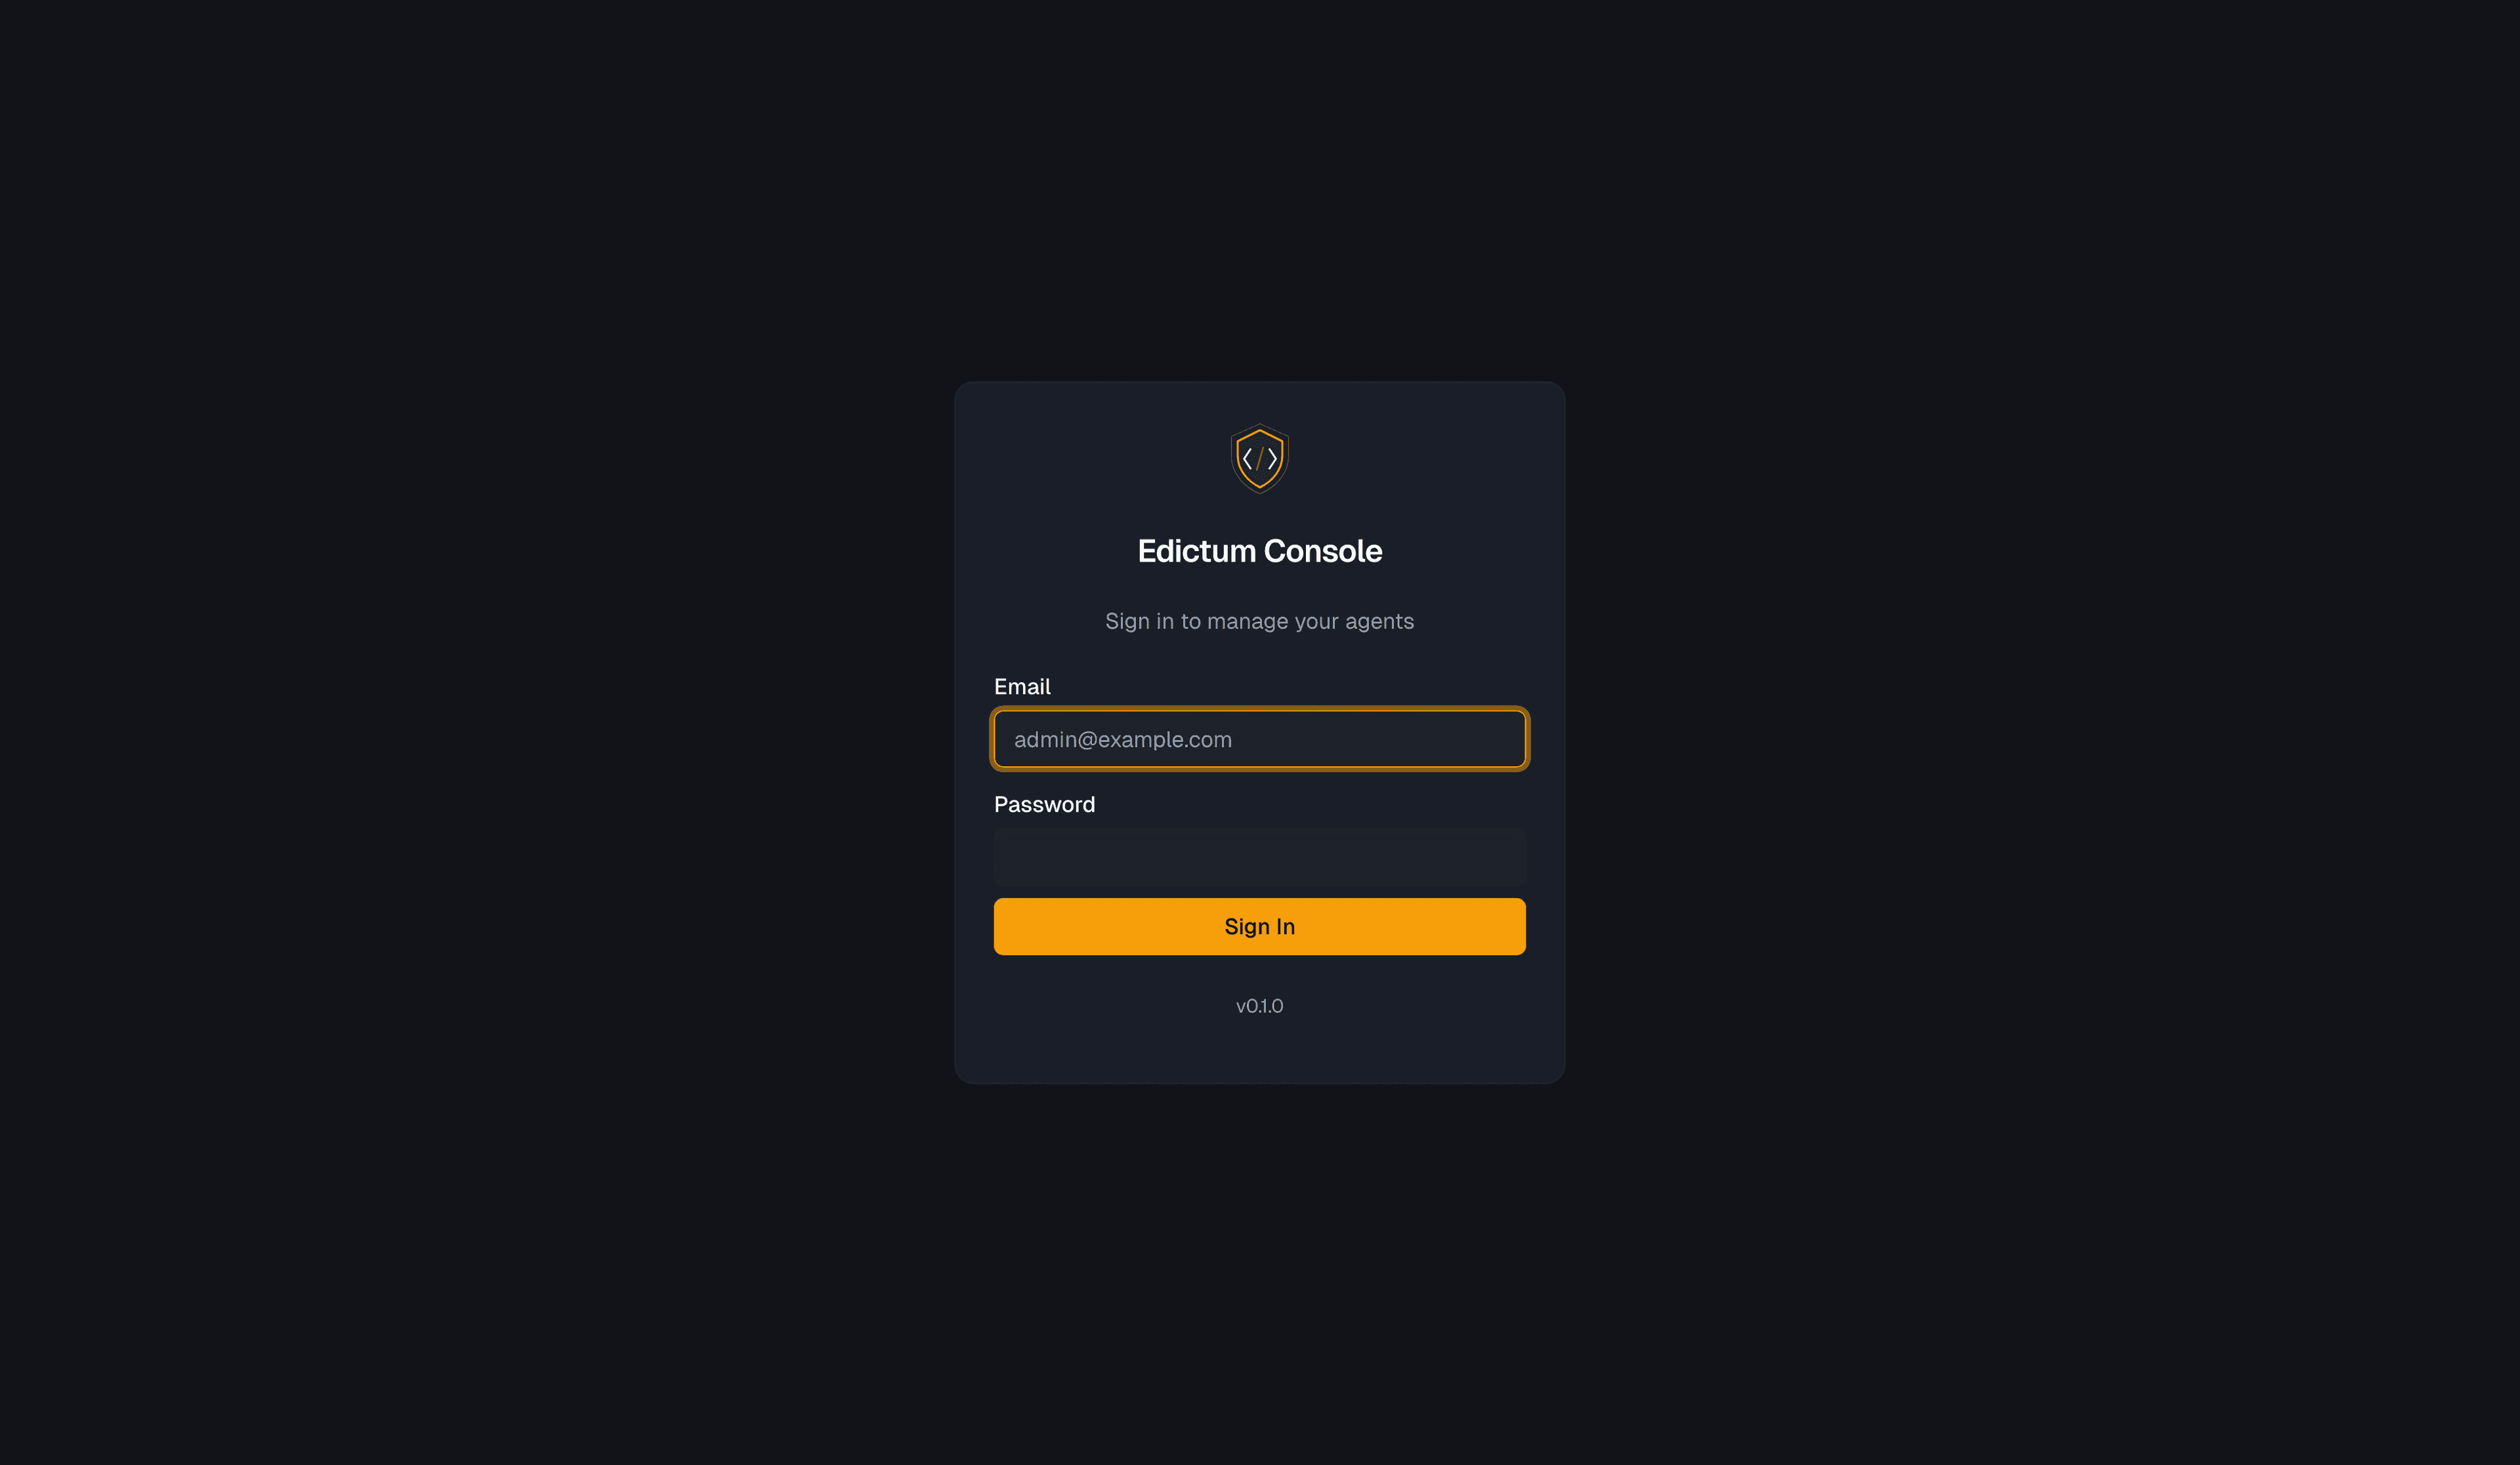
Open http://localhost:8000/dashboard/setup in your browser.
Fill in your email and a password (minimum 12 characters). Click Create Account. You're redirected to the dashboard.
Set these in .env before starting:
EDICTUM_ADMIN_EMAIL=admin@example.com
EDICTUM_ADMIN_PASSWORD=your-secure-password-here
Then restart the server:
$ docker compose restart serverThe admin account is created automatically on startup. Log in at http://localhost:8000/dashboard.
Bootstrap lock
Admin creation only works when zero users exist. After the first admin is created, both paths return 409. This prevents privilege escalation.
5. Create an API Key
- Log in to the dashboard
- Navigate to API Keys in the sidebar
- Click Create Key
- Choose an environment (e.g.,
production) - Copy the full key -- it's shown only once
The key looks like edk_production_CZxKQvN3mHz.... You'll use it in the next step.
6. Connect Your Agent
Install the server SDK:
$ pip install edictum[server]Connect your agent to the console:
from edictum import Edictum

guard = await Edictum.from_server(
    url="http://localhost:8000",
    api_key="edk_production_CZxKQvN3mHz...",
    agent_id="my-agent",
    env="production",
    bundle_name="my-contracts",
)
The agent is now:
- Connected via SSE for live contract updates
- Sending audit events in batches (50 events or 5 seconds)
- Routing approval requests through the console
- Visible in the dashboard Agents page
Use guard.run() exactly like local edictum:
from edictum import EdictumDenied

try:
    result = await guard.run("read_file", {"path": "data.csv"}, read_file)
except EdictumDenied as e:
    print(f"Denied: {e.reason}")
No contracts deployed yet?
If no bundle is deployed for the agent's environment, from_server() still connects successfully. The agent runs without contracts until you deploy one. Events are still recorded.
7. Deploy a Contract
- In the dashboard, navigate to Contracts -> Library
- Click New Contract -- a dialog opens with metadata fields and a YAML editor
- Fill in the fields:
- Contract ID:
block-dotenv - Type:
pre - Name:
Block .env reads
- Contract ID:
- In the Definition (YAML) editor, paste:
tool: read_file
when:
  args.path: { contains: ".env" }
then:
  effect: deny
message: "Read of sensitive file denied: {args.path}"- Click Create
- Go to Contracts -> Bundles
- Click New Bundle, name it
my-contracts, then click Create - In the bundle editor, click Add Contracts, find
block-dotenvin the picker and click + to add it, then click Done - Click Save to save the bundle composition
- Click Deploy, select
productionas the target environment, and click Deploy to confirm
The agent picks up the new contract instantly via SSE -- no restart needed. Try it:
# This will now be denied by the contract you just deployed
try:
    await guard.run("read_file", {"path": ".env"}, read_file)
except EdictumDenied as e:
    print(f"Denied: {e.reason}")
    # "Read of sensitive file denied: .env"
Check the Events page in the dashboard -- you'll see the denial event with full context: which contract denied it, the tool arguments, and the agent that triggered it.
Change the contract in the dashboard, deploy again, and the agent picks it up live. That's the loop:
Edit contract -> Deploy -> Agent picks it up -> No restartNext Steps
- How it works -- understand the architecture and evaluation pipeline
- Contract model -- the three-level composable contract model
- Live hot-reload -- how SSE push and bundle signing work
- Approvals -- human-in-the-loop approval workflows
- Notifications -- set up Telegram, Slack, Discord, or webhook notifications
- Self-hosting -- production deployment with HTTPS, backups, and monitoring
- Environment variables -- all configuration options
Last updated on